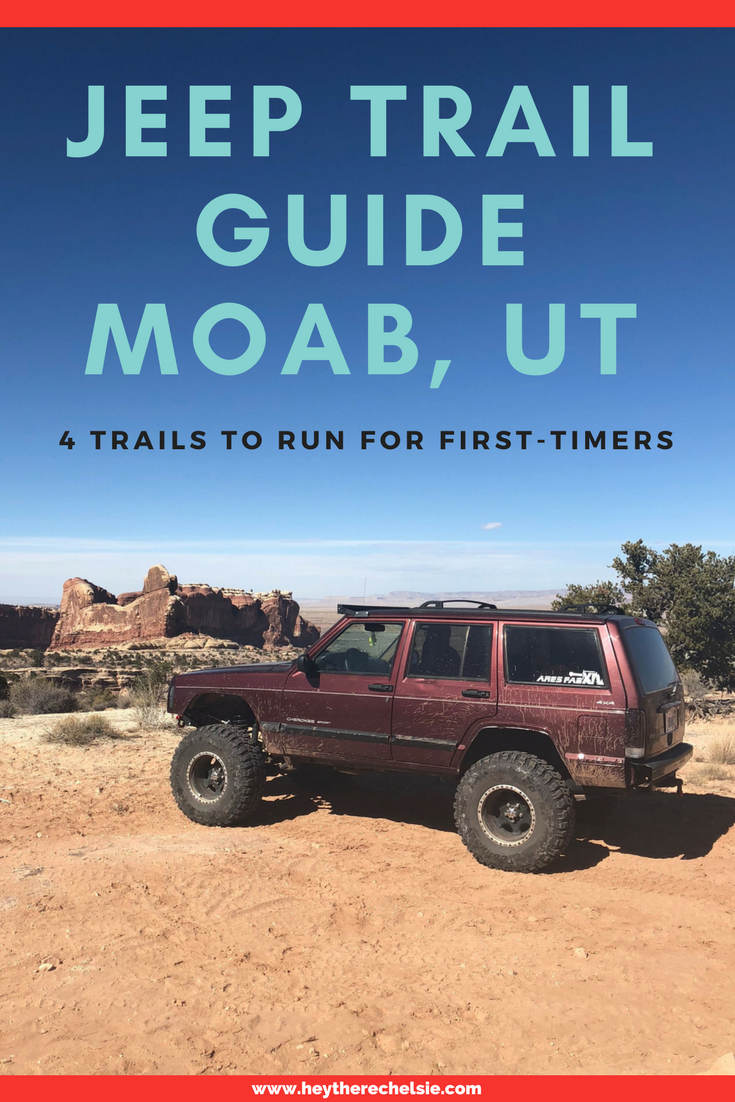
Moab Photo Diary & Jeep Trail Guide | February 2018
Watch this first:
Some of you hung out with me on Instagram stories while we were in Moab two weeks ago, but for those of you who didn’t, I wanted to share a little bit about our Jeep trip to Southern Utah so you wouldn’t miss out. 😉 Plus, I felt like I was pretty uneducated about Moab and the trails we ran, so I wanted to write down all my thoughts for anyone who is planning on heading down there with their rigs.
A little bit about our Jeep & Crew:
I am the oldest of four kids and have two younger sisters and a brother. You guys see my middle sister, Ashley, around a lot because she lives about 20 minutes away from me in Utah. My youngest sister is about 4 hours away from me in Idaho (my brother is up there, also!) Ashley and her husband, Ryan, have had a Jeep for over a year now and Dustin and I loved hearing about their Jeep adventures and the beautiful places they got to experience because they had a 4X4. Last summer, Dustin decided he wanted to join Ryan and the Jeep world and sold his car and bought his own rig. Little did we know that my youngest sister, Katie and her husband were also planning on buying a Jeep - and before we knew it, all three Whitney girls had 2000/2001 Jeep Cherokee Sports that our husbands were building into dedicated off-road vehicles.


We’ve taken our Jeeps out for short day-trips in Utah, but have been talking about doing something more extreme during President’s Day weekend this year together. Moab is pretty much the promised land for all offroad crawling and since we only live 3 hours away from it, we decided that’s where we were going to go. We’ve spent the last 6 months upgrading our rig to get her ready, including one-ton steering, sway-bar link quick disconnects, a light bar, new sparks and coils, new auxiliary fan and all new brakes. It was nice to finally be able to DRIVE her instead of work on her for a weekend
Our Jeep is Running:
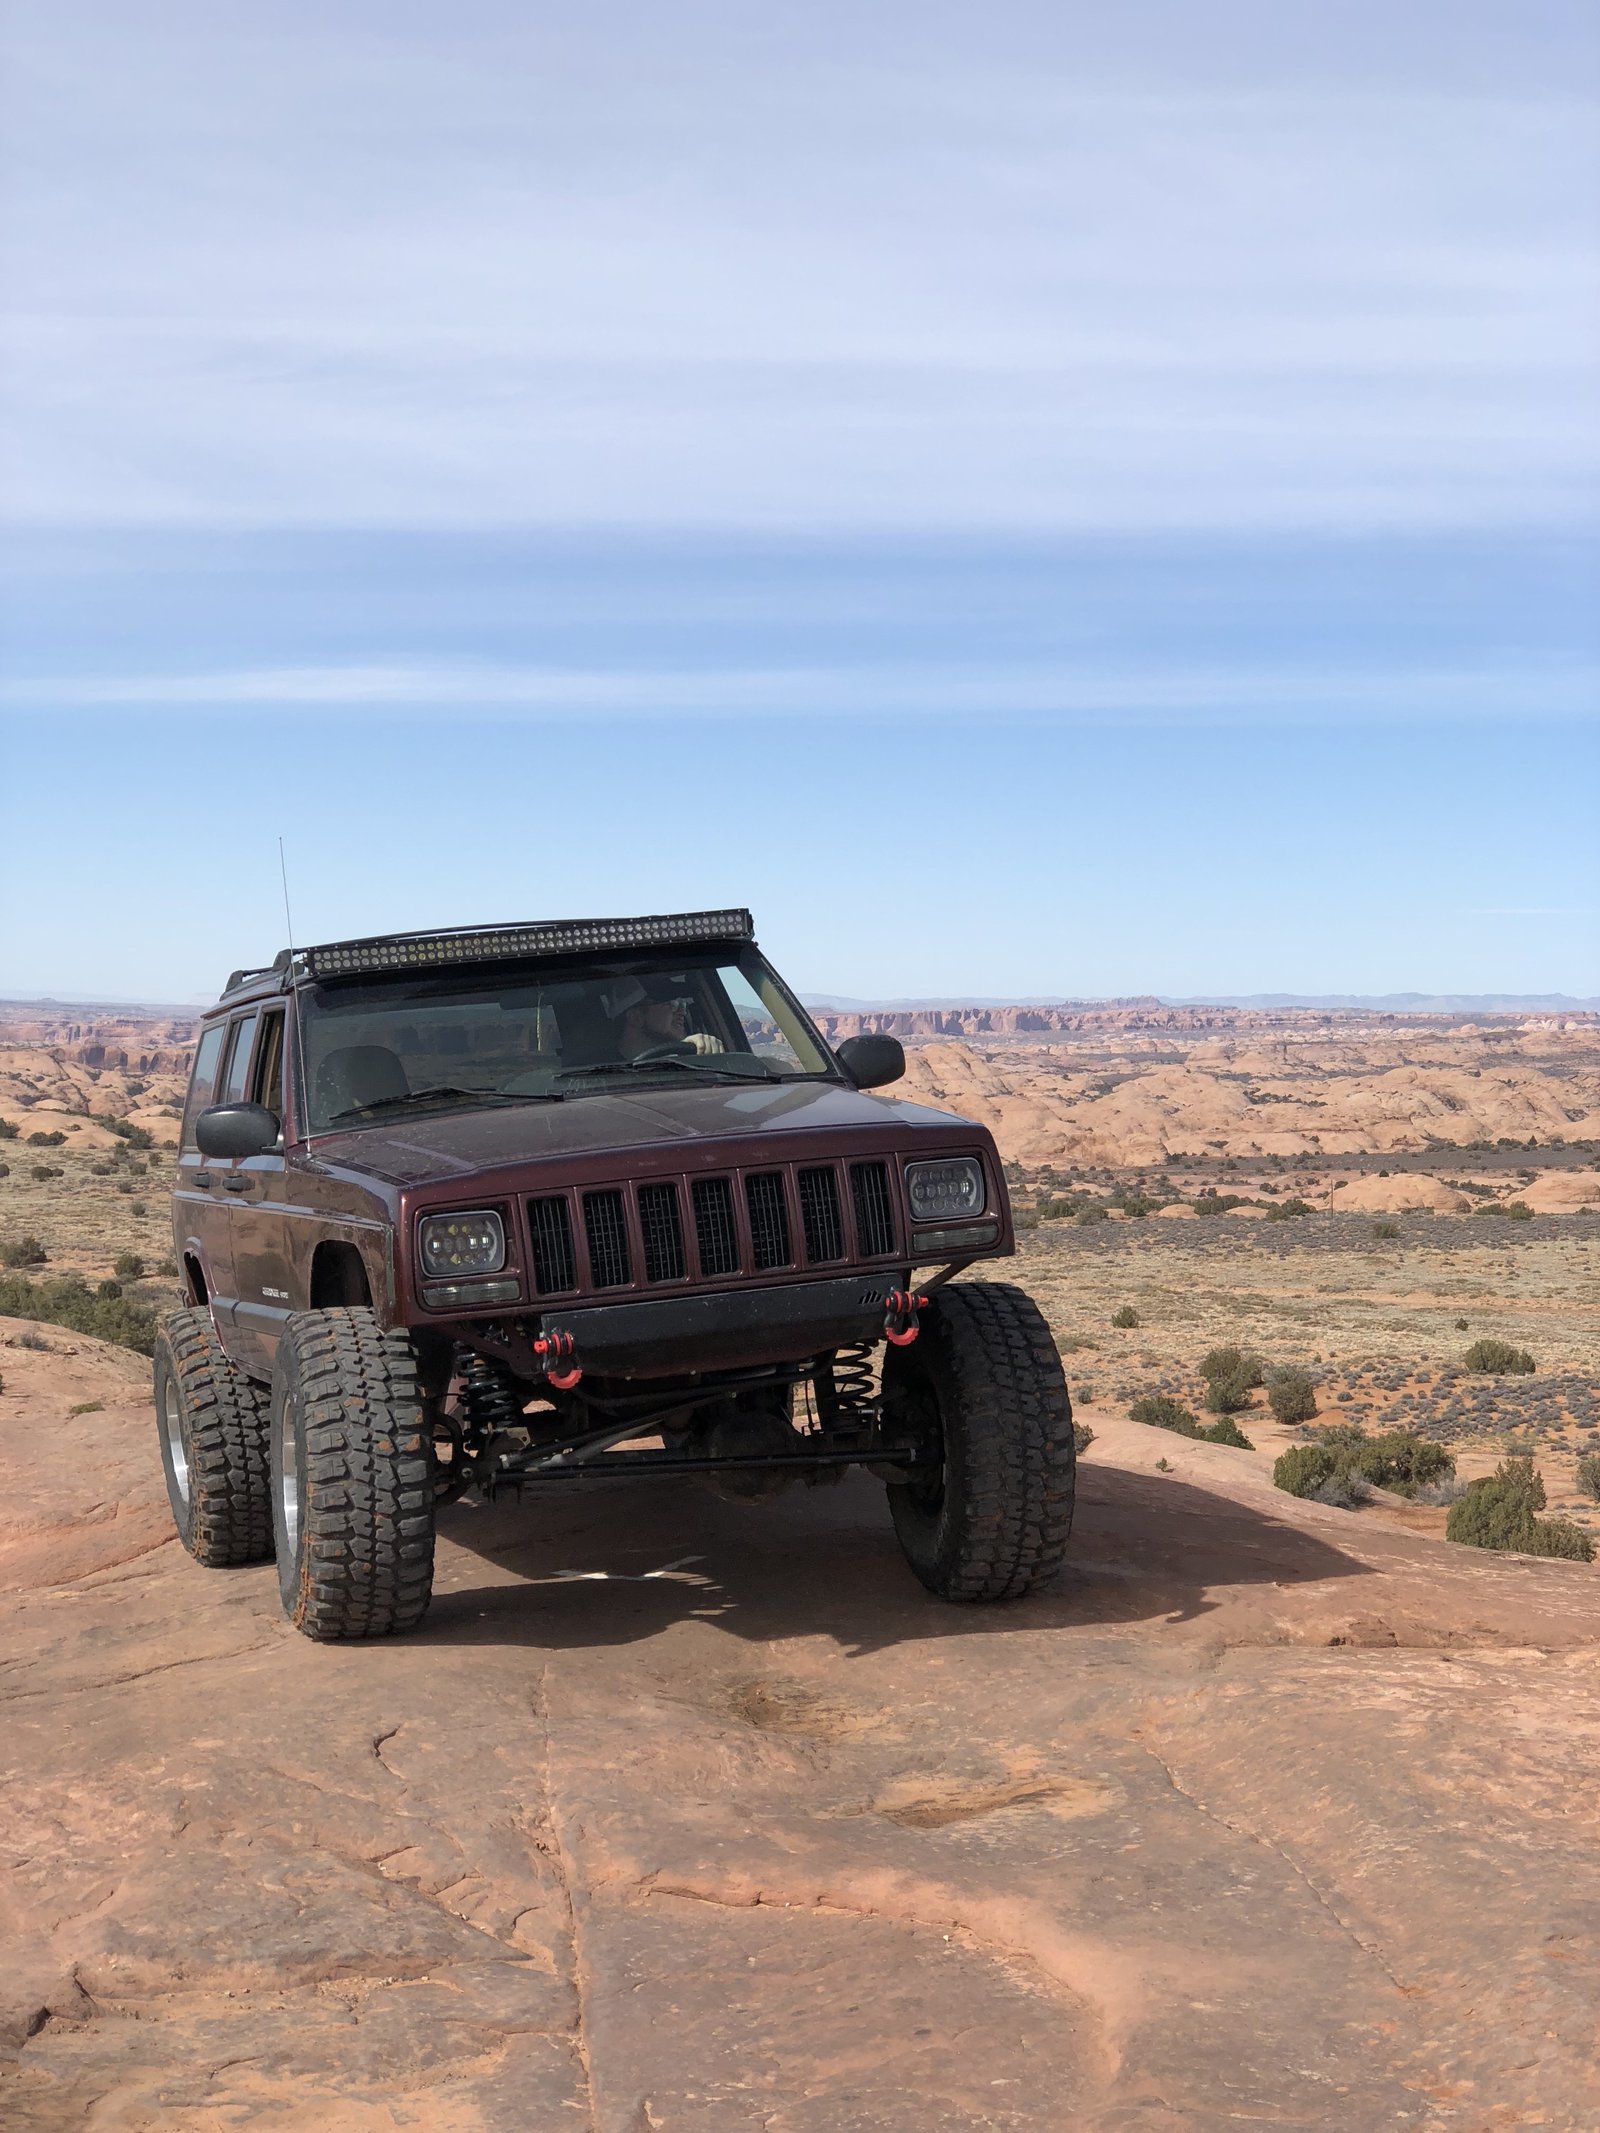
For anyone who is planning on going to Moab for off-roading, here is what we were running on our Jeep when we went on this trip (for comparison)
- 33″ Mud Tires
- 4″ Suspension Lift
- One-Ton Steering with Tie-rod Ends (Aeres Fab)
- Rear Aussie Locker
- Dana 30 Front Axel
- Chrysler 8.25 Rear Axel
Day One:
We woke up bright and early (5:00 AM) and put the last few things in the back of the Jeep and made sure the house and dogs were ready for our friends who were coming to watch them while we were gone. Then, we were on the road to Pleasant Grove, where we were meeting everyone else. We got on the road around 6:30, and made a couple stops for breakfast and gas before arriving at our Air BnB in Moab at 10:30.
The incident on the drive - As we were climbing over the mountain pass between Spanish Fork and Price, the front end of our Jeep starting shaking VIOLENTLY. We radioed to the rest of the crew on our walkie-talkie that we needed to pull over and figure out what was going on. I was so nervous that we were going to have to turn around and go back before even making it to Moab, but after a quick check, Dustin realized that some of the lugnuts on one of the front tires had come loose! We think that it wasn’t torqued correctly by the people who rotated our tires, so we quickly pulled out some tools from the back of the Jeep and tightened down all the nuts on the tires before getting back on the road. We didn’t have a single issue the rest of the trip!
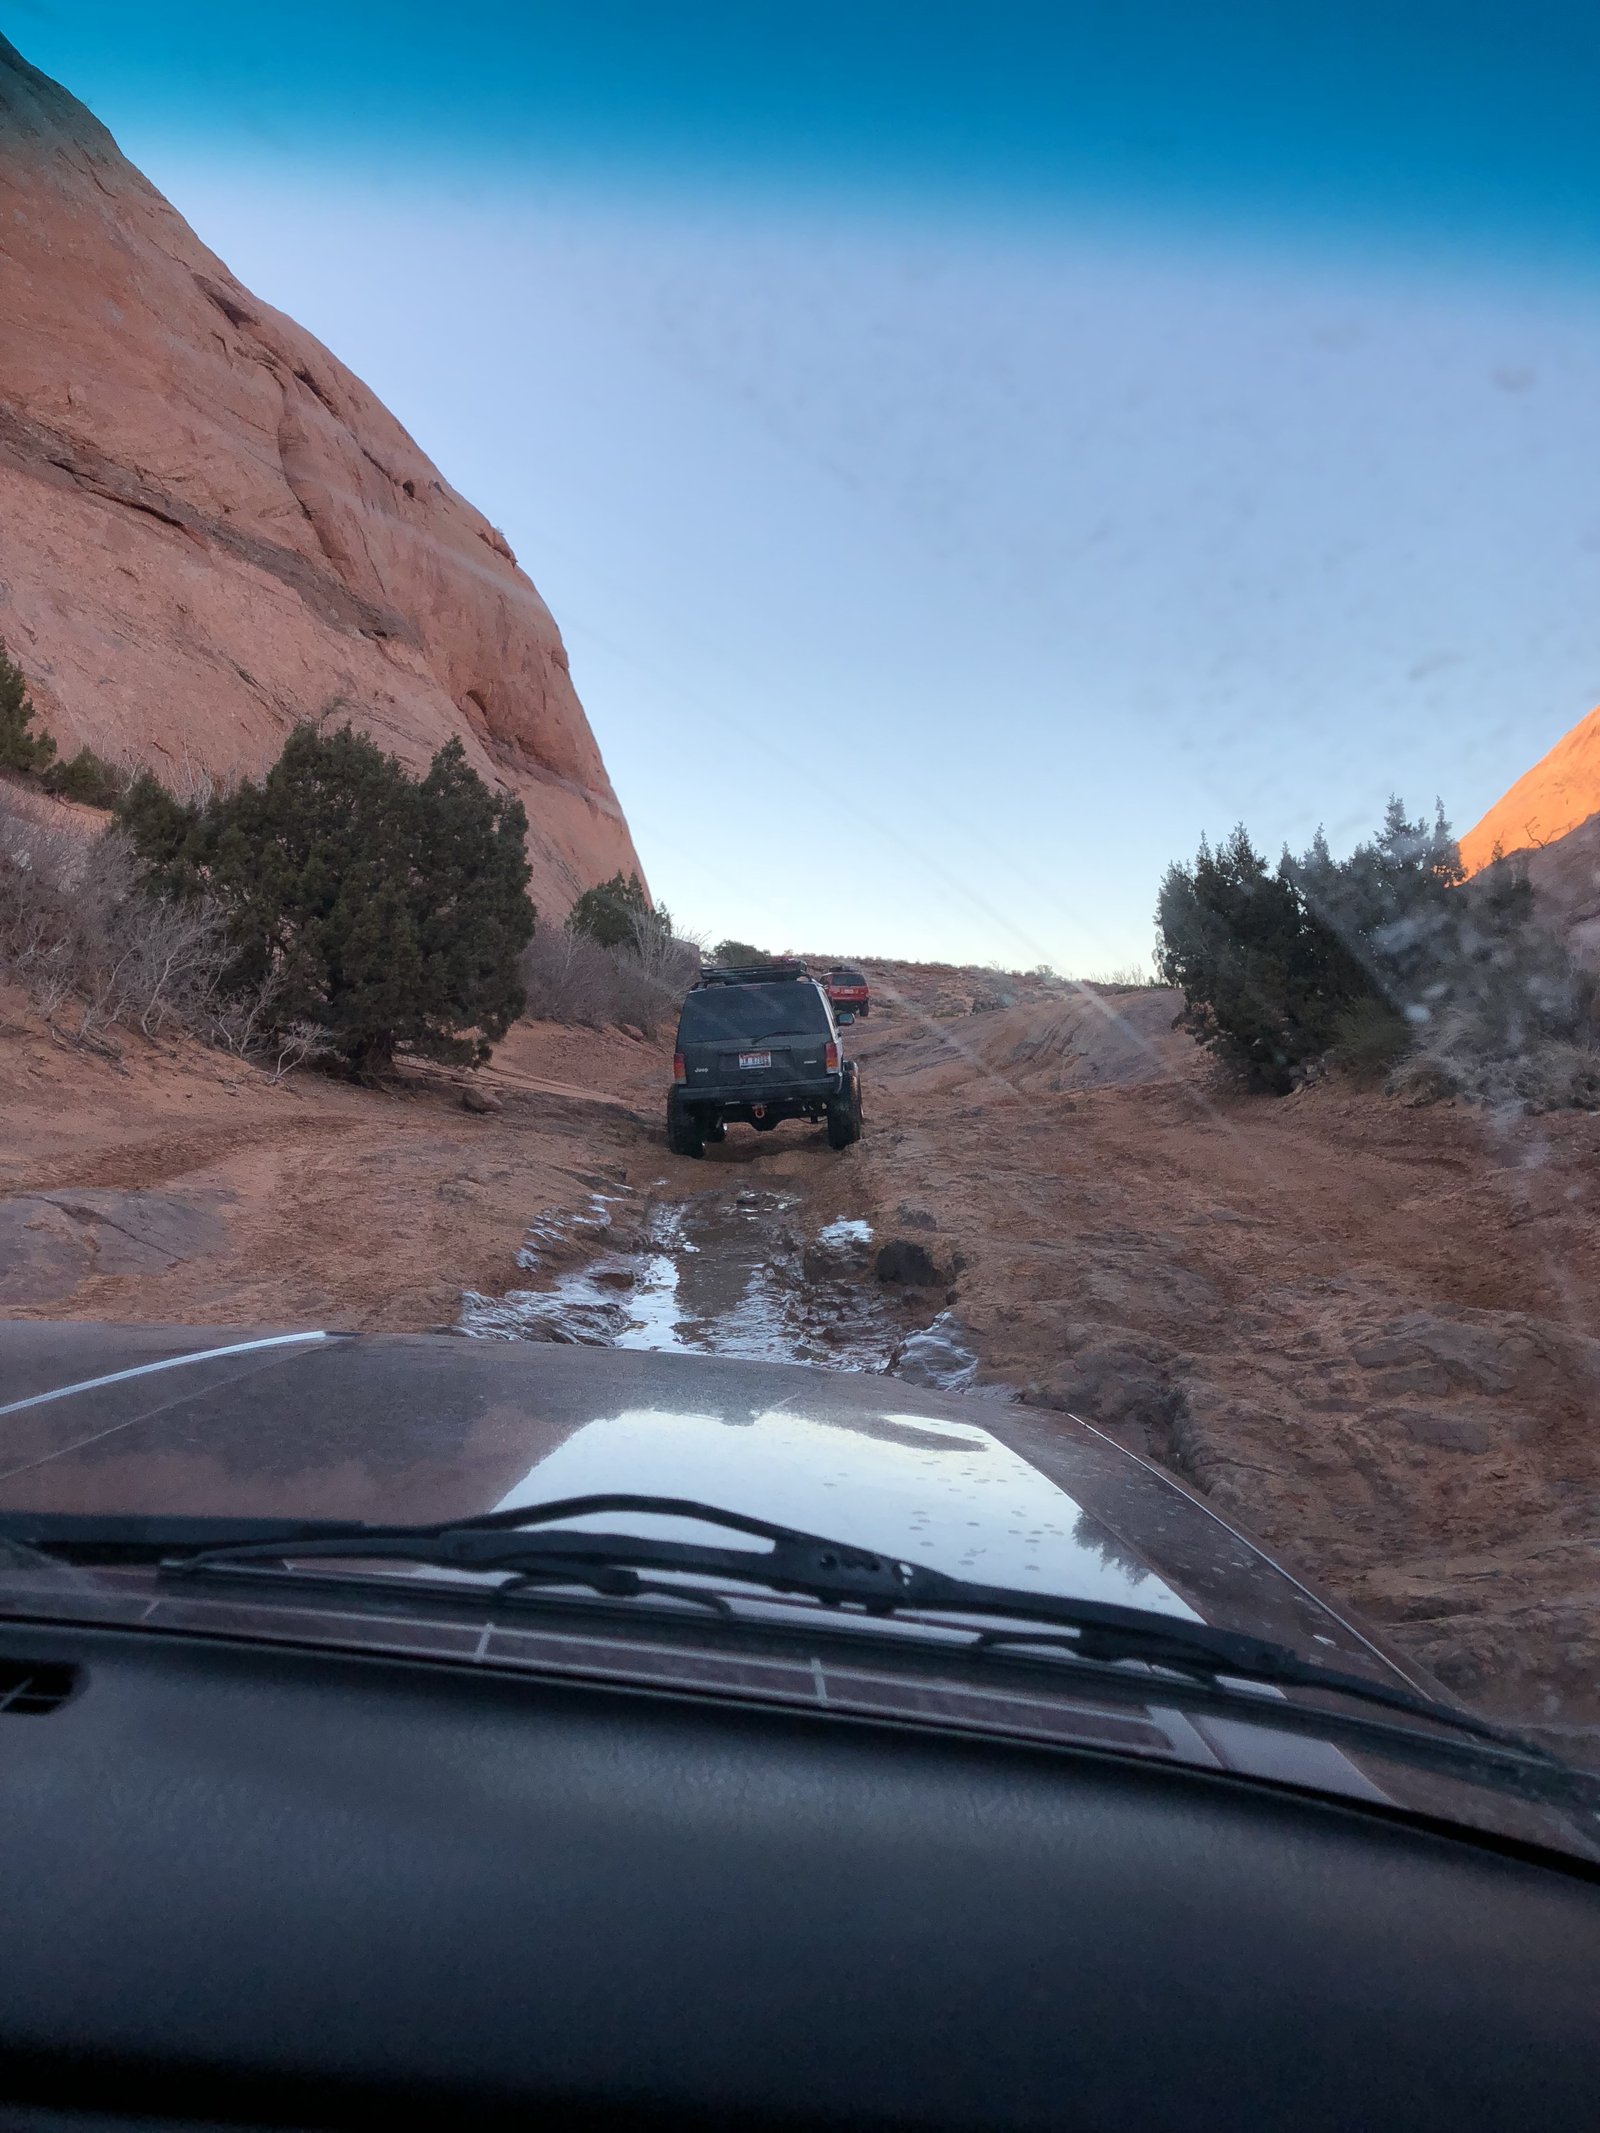
Ryan’s (my brother-in-law) dad and some of his buddies came out from California in their Wranglers so that they could go out with us. We met up with them, unpacked all our gear into their Air BnB since our check-in wasn’t until four, and started getting the rigs ready to hit the trails. We aired down our tires (for better traction on the slick rock) and disconnected our swaybars so the Jeeps would have full articulation. After packing up our food in coolers, we headed out to the Sandflats recreational area where we were running our first trail of the trip, Fins n’ Things.
Fins n’ Things - rated a 4 on the Moab Scale, 9 miles long (5 hours to run)
This trail was the perfect trail for first-timers like us - it definitely had some technical obstacles and some super steep declines, but it wasn’t too overwhelming for us. It got our feet wet, allowed us to understand how the Jeep handles on slick-rock, and most obstacles had obvious lines to choose when approaching them. There were bypasses for almost all the more technical ones (we only chose to skip one out of them all because we would have needed a front locker to do it comfortably.)
PRO-TIP: There were picnic tables about halfway through the trail, so we pulled over, pulled out the grill and had lunch. The views were beautiful - unlike anything we’ve ever seen! It was a perfect place to stop, eat, and let the Jeeps cool down (they like to run warm when they work hard!)
Our Jeep did great on this trail, minus the most alarming metal crunching sound coming from under the passenger side front seat (my seat.) We started hearing it within minutes of getting onto the trail and initially thought it was a bushing or shock that needed to be greased up, but it got louder and more consistent as we went on. Finally, as we were coming down our last obstacle of the day (which was the only obstacle we hit super hard on the way down) we were able to see what was going on. Our rear axle had completely shifted on the passenger side! My brother-in-law, Preston, figured out that the center pin that held the axel into the leaf-spring had completely sheared off and wasn’t holding the axel in place. YIKES! Thankfully we were done with the trail and able to get the Jeep back to the Air BnB before we broke the axle.

Day Two:
Dustin and the crew came up with a plan to fix our Jeep the night before over dinner, so the next morning they got up at 7:00 AM to get it started. They had to lift the Jeep up and rest the body onto spare tires, take the rear tire off, loosen up the u-bolts that hold the Axel to the body and put in the new center-pin (which the auto parts store in Moab had in stock, thankfully.) We’re so grateful we had so many hands because it would not have been easy to do on our own, and the Jeep was ready to get back on the trail by 10:00.
We originally had planned to run Poison Spider, but after getting to the trailhead, we found that it was closed for the day for a foot race. So, we went back to the Sandflats Recreational Area and decided to run Hell’s Revenge. Not going to lie, I was terrified to run a trail named Hell’s Revenge, but it ended up being my favorite trail of the weekend!
Hell’s Revenge - rated a 6 on the Moab Scale, 7 miles long, 6 hours to run.
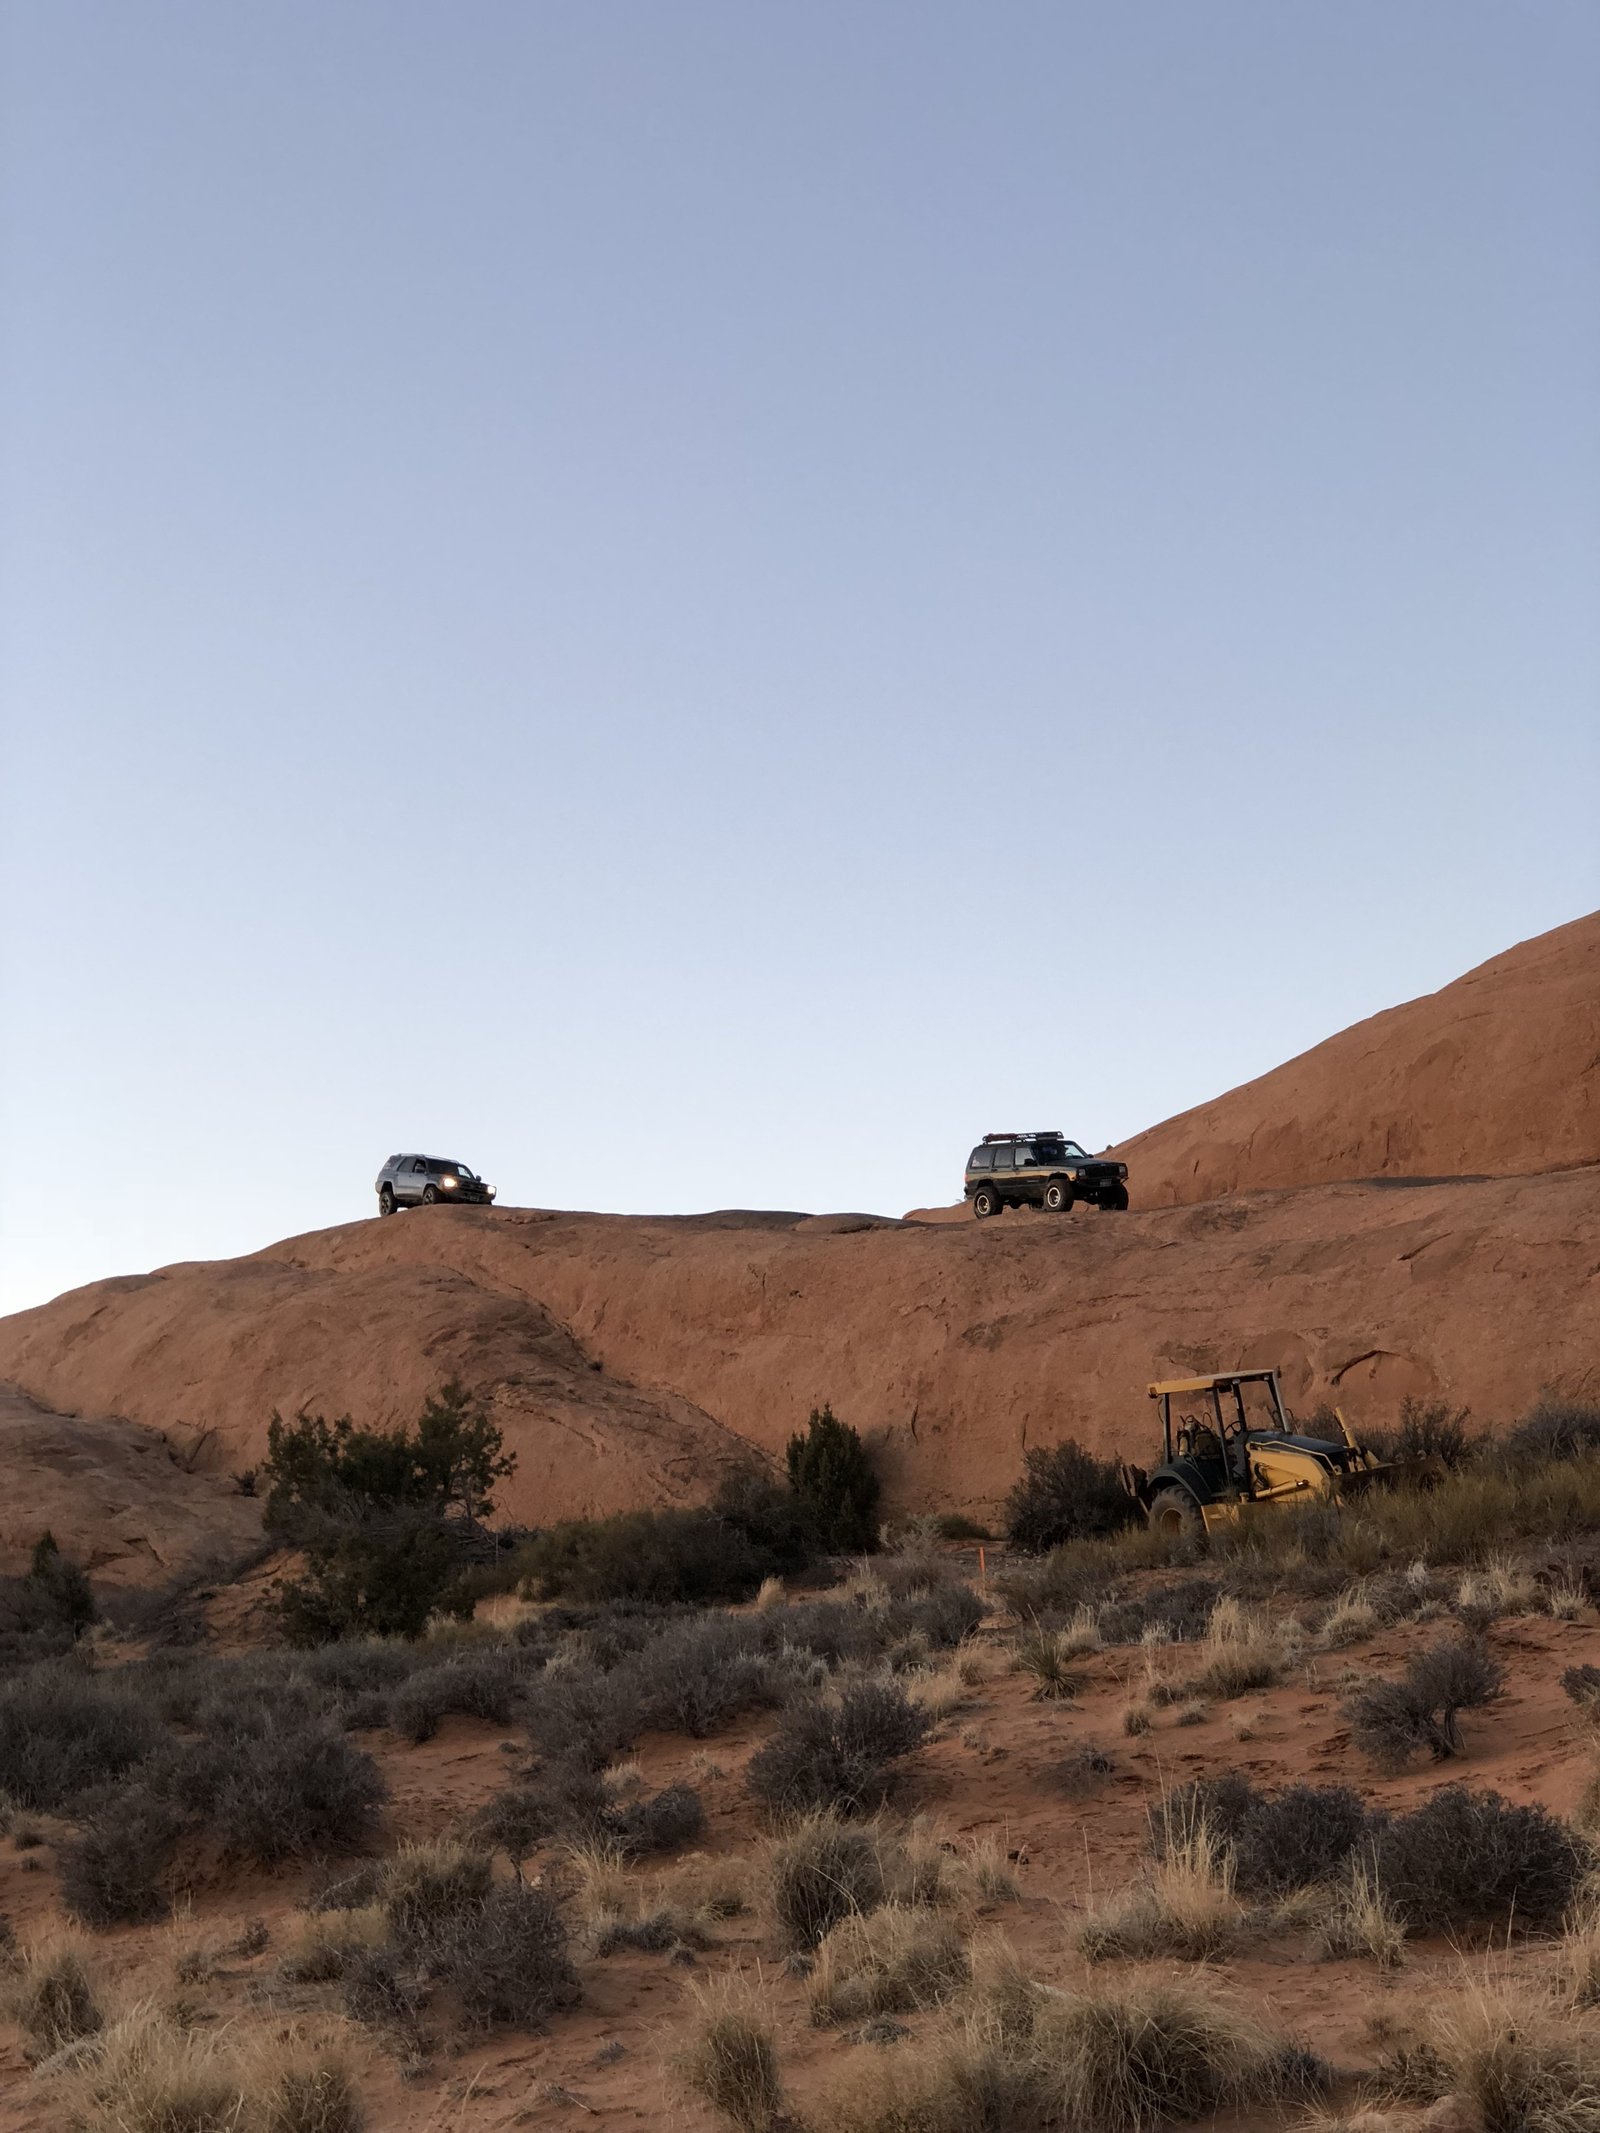
This trail is DEFINITELY a bit more challenging than Fins, mainly because it involves some of the steepest (and narrow) climbs I’ve ever seen. We all agreed that it wasn’t as technically challenging as Fins, but it was definitely scarier because of how steep and high you had to climb. About 50% of the time, you are climbing something so steep that you can’t see anything but the sky. The other 50% of the time, you are descending something to steep that you can’t see anything below you. You REALLY have to rely on spotters for this trail, so don’t go alone! About 80% of this trail is slick rock, but the last mile or so is really steep dirt and boulders (this was the most technically challenging part of the whole trail and we definitely flexed out our rear axle for a second coming down.)
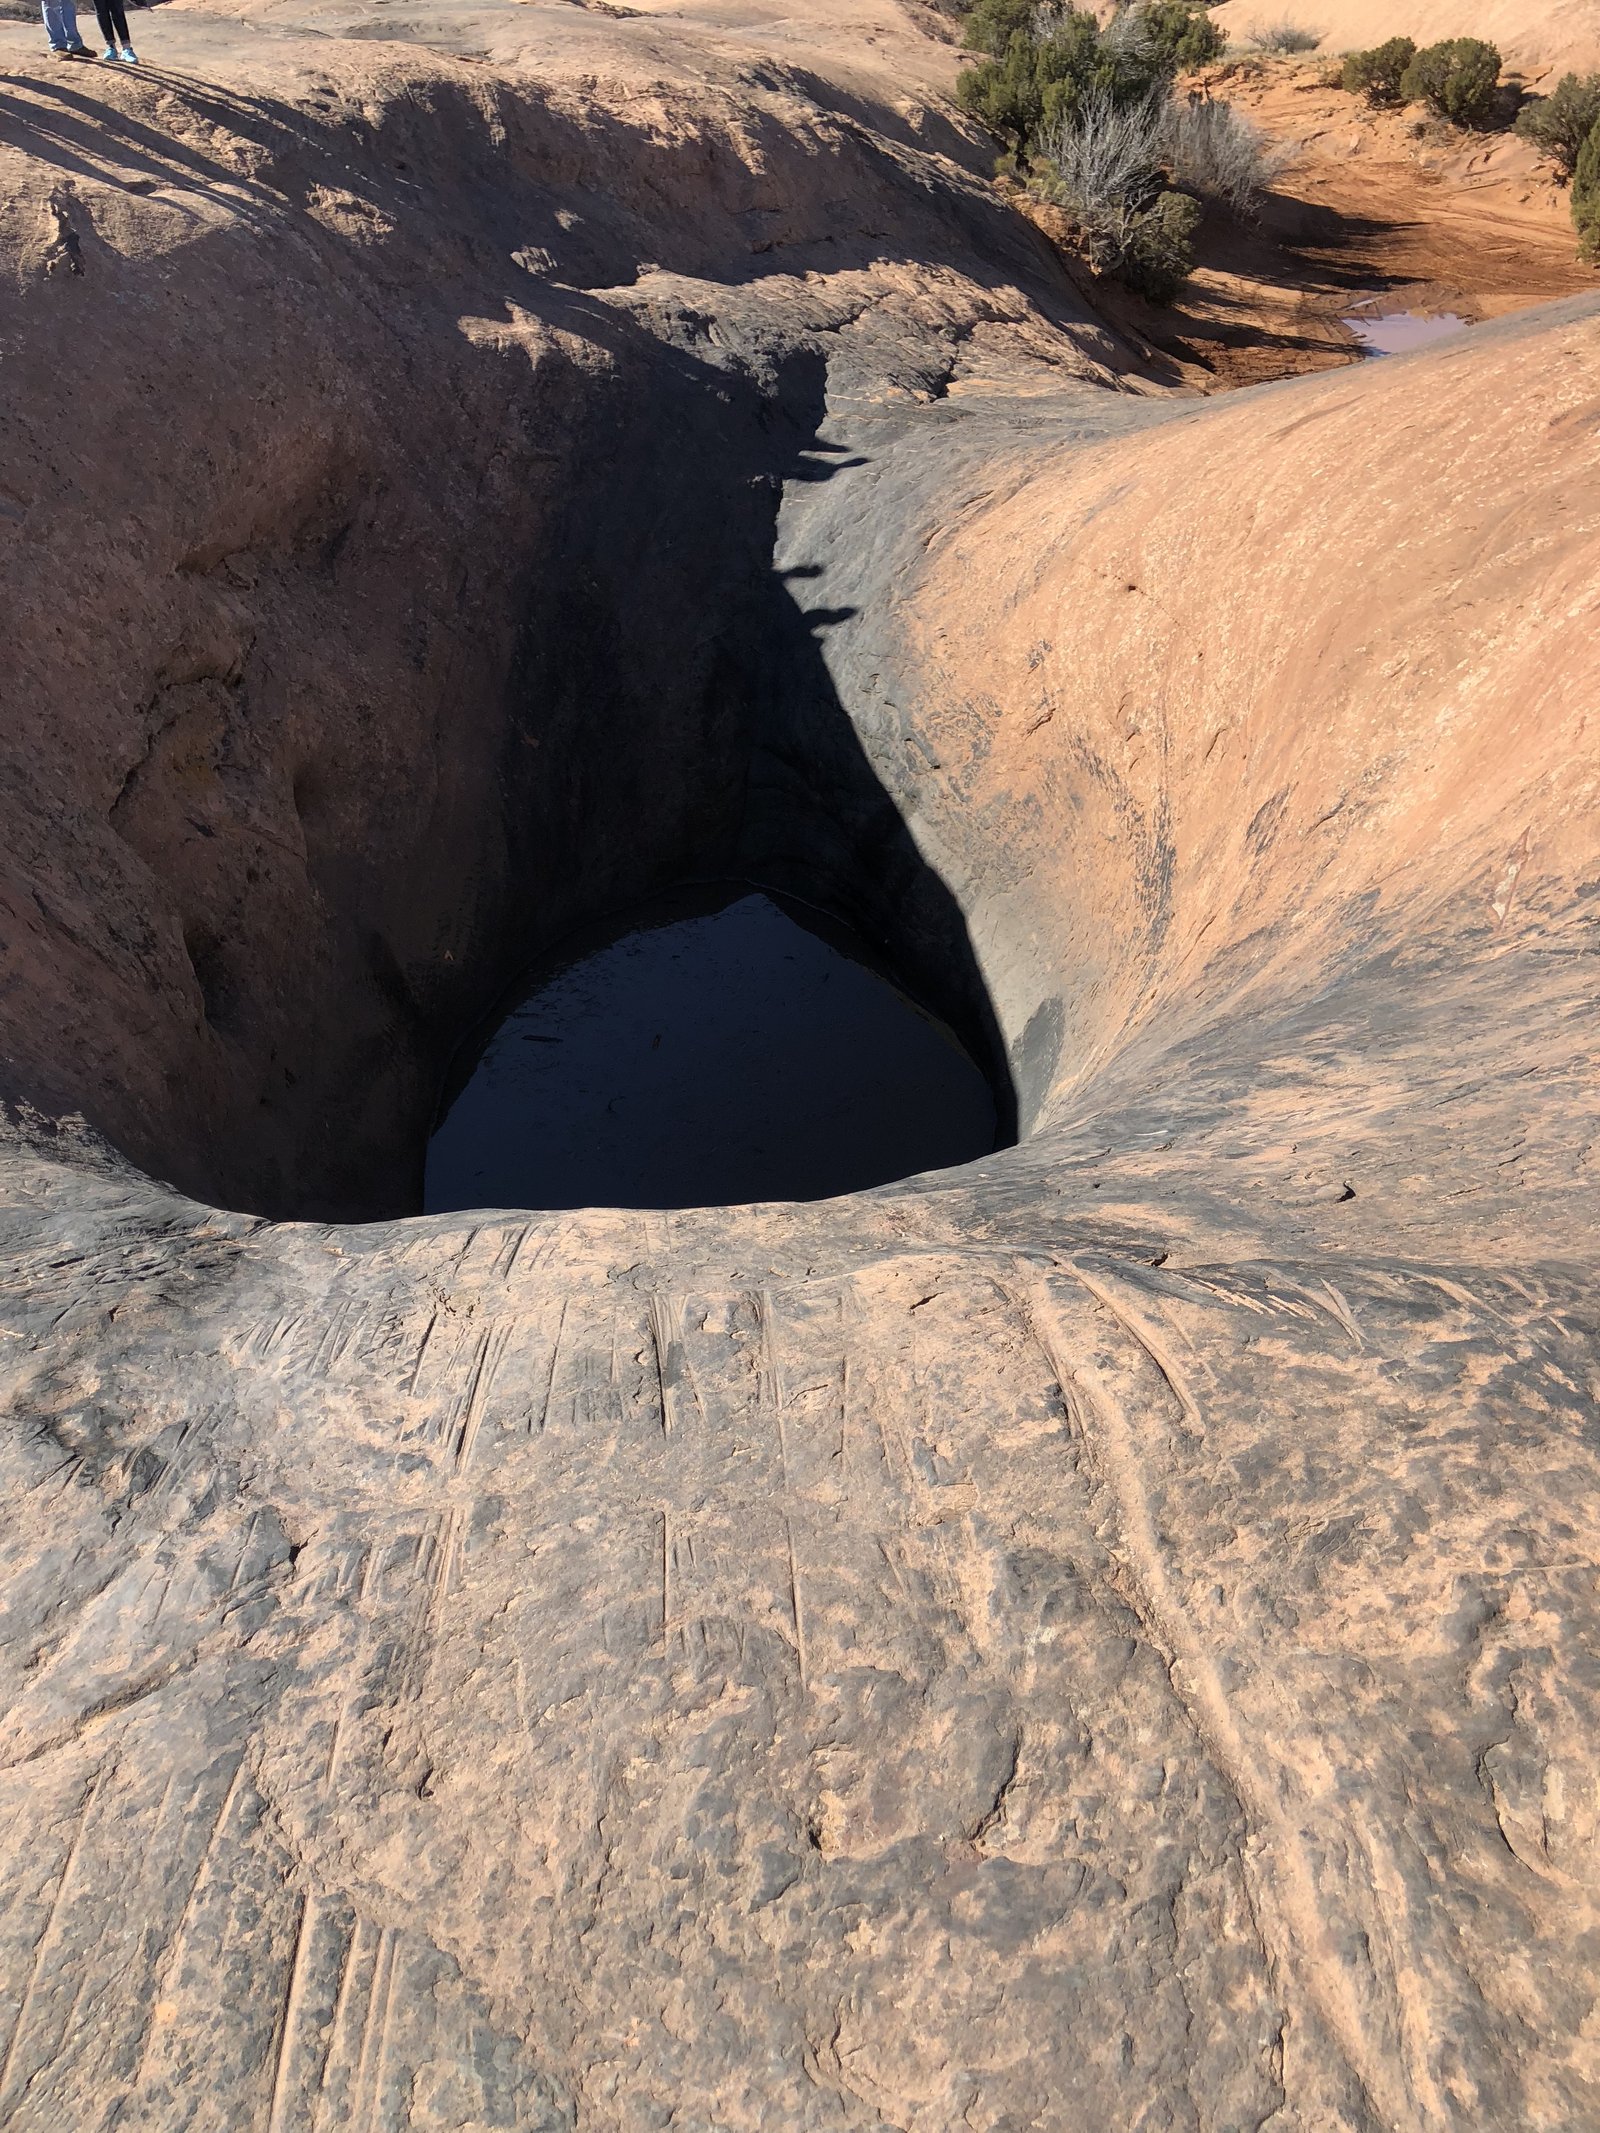
There are three HUGE obstacles on this trail (named Hell’s Gate, the Hot Tub, and the Escalator) that are level 8/9’s in difficulty, but there are bypasses for all of them. We did not attempt to climb any of them because we definitely needed more clearance and a front locker to have a hope of making it over them.


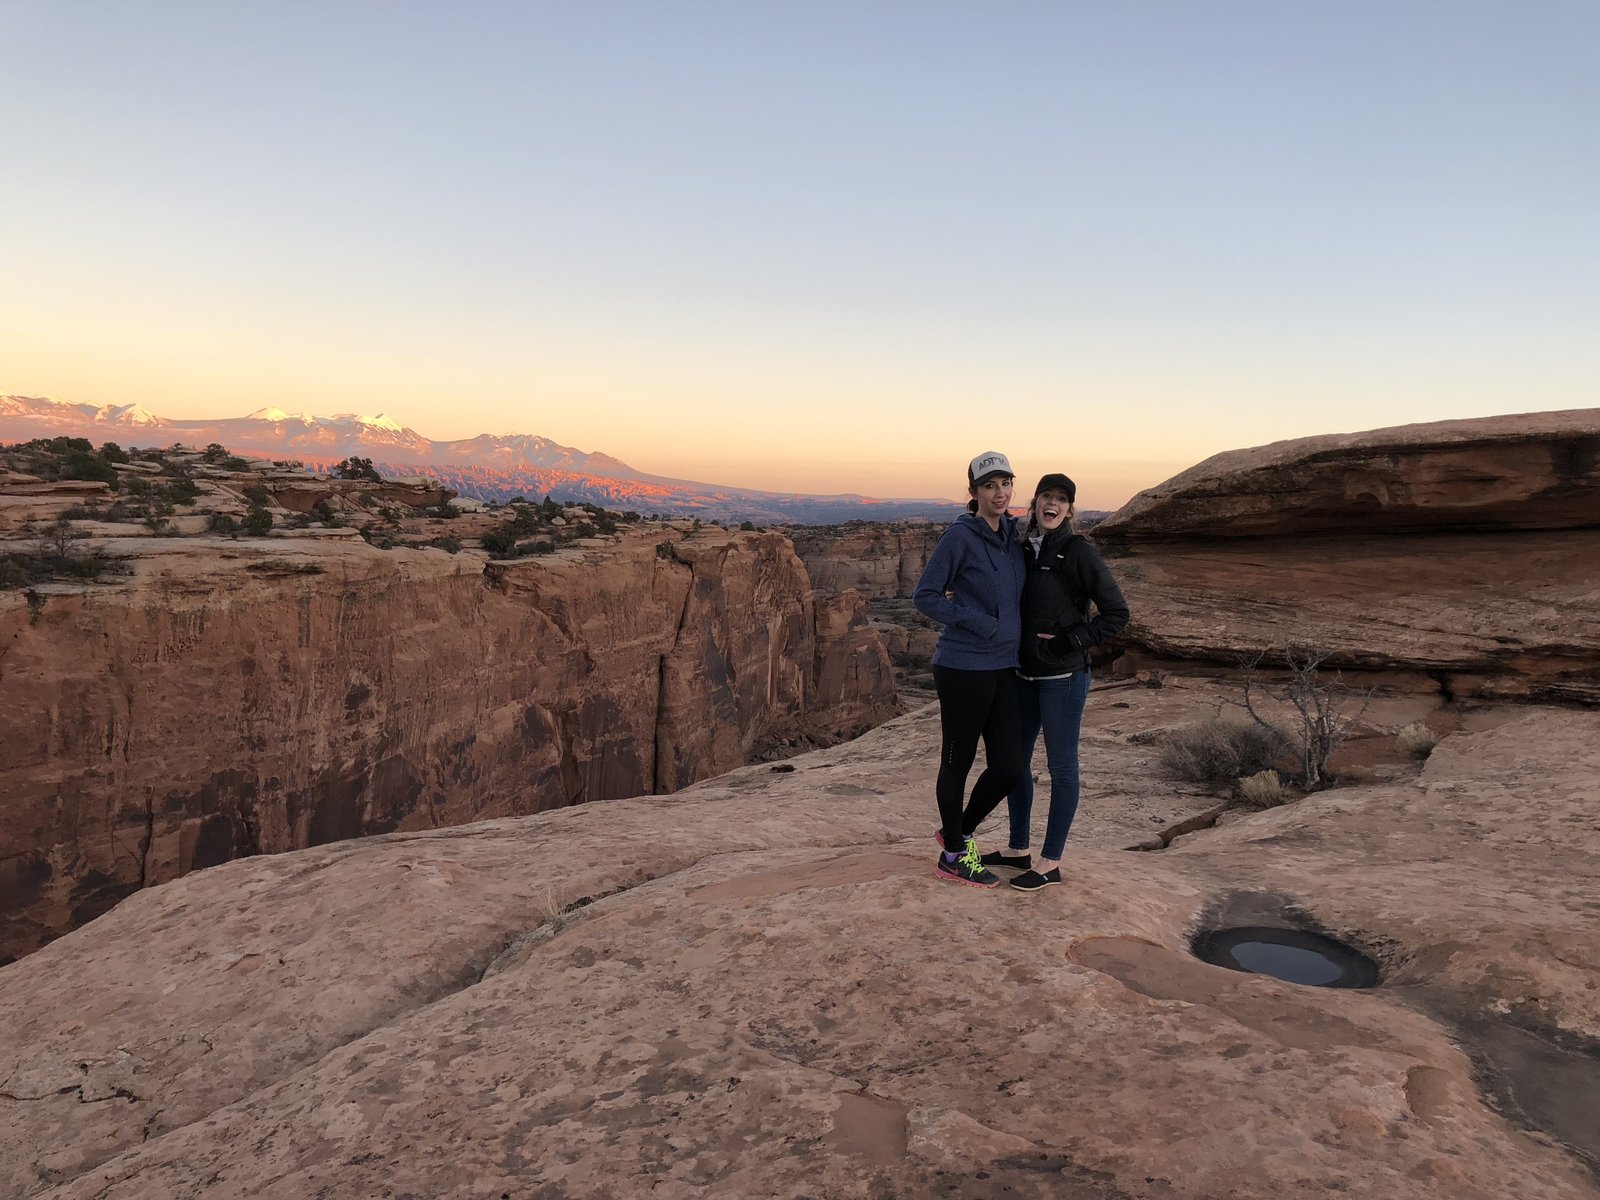
The best part of this trail, however, is the amazing river overlook about half-way through (by Hell’s Gate.) There is a dirt parking lot where you can park your Jeep and have lunch and then you can climb over the slick-rock to the most breath-taking view of the Colorado River! It’s not a hard hike at all (it took us 10 minutes tops and I could do it on my knee replacement) so it’s definitely possible for everyone to see it! We actually brought our lunch up there and ate it while looking over the river. After, we scampered over to Hell’s Gate to see if anyone was attempting to climb it, but no one was (it’s THAT SCARY!)


Even though this trail was INSANELY steep and nerve racking at times with how narrow it was, it was my favorite. The views were literally breath-taking and completing Hell’s took a lot of the anxiety and nerves away from crawling, because we fully understood what our Jeep was capable of doing.
Gemini Bridges - Rated a 2 on the Moab Scale - 2 hours to run.
We got down from Hell’s right around 4, so we decided to go run Gemini Bridges before we lost the natural light (and so we could do a little night wheeling and test out our lightbar.) Gemini Bridges is a super easy trail - I actually drove the whole thing. It’s mostly dirt with a few minor ledges to climb at the end and even a stock 4X4 (with no lift or huge tires) could get over them without any issues. Even though it’s an easy 30-minute ride, it’s worth it for the views! We ran this trail at 4:30 PM and had plenty of light to get up to the bridges and enjoyed the sunset as we walked over them. We did run all of our lights on the way down (we have a 50″ light bar with rain gutter mounts) and although those weren’t 100% necessary, I wouldn’t have felt comfortable driving without them. So, if you are going to drive up for a sunset view, I would recommend having extra lights on your rig for night crawling.
Gemini Bridges is a natural double arch formation that you can actually hike to the top of and walk across. I wouldn’t necessarily use the word “hike” though because there aren’t any steep descents or accents you have to get over - it’s more or less walking on an even path and then sliding on your bum to get down a couple boulders. I was able to do it with my knee replacement almost no problem (but with a hand to hold for the boulders, thanks to my sister and husband.) You can also walk around the edges of the mesa the bridges connect and look down into the canyon. It’s one of those places where the silence is so profound that it actually hurts your ears. I’ve never seen anything like it and it literally took my breath away.


Day Three:
We got to sleep in a little on the third morning because we didn’t have any Jeep repairs to fix. Some of the group got up early and hit Arches National Park to do some hiking while the rest of us slept in, packed up the rigs, and hit Main Street to do a little souvenir shopping. I seriously cannot wait to go back to Moab just to spend some more time exploring Main Street. It had a lot of cute shops and a fossil store that my sister is mildly obsessed with - we just didn’t get a chance to go into it this trip. We wanted to hit one more trail before heading back to Salt Lake and decided to run the 7 Mile Rim trail as a girls trail!
7 Mile Rim Trail - rated a 4 on the Moab Scale, 14 miles long, 7 hours to run.
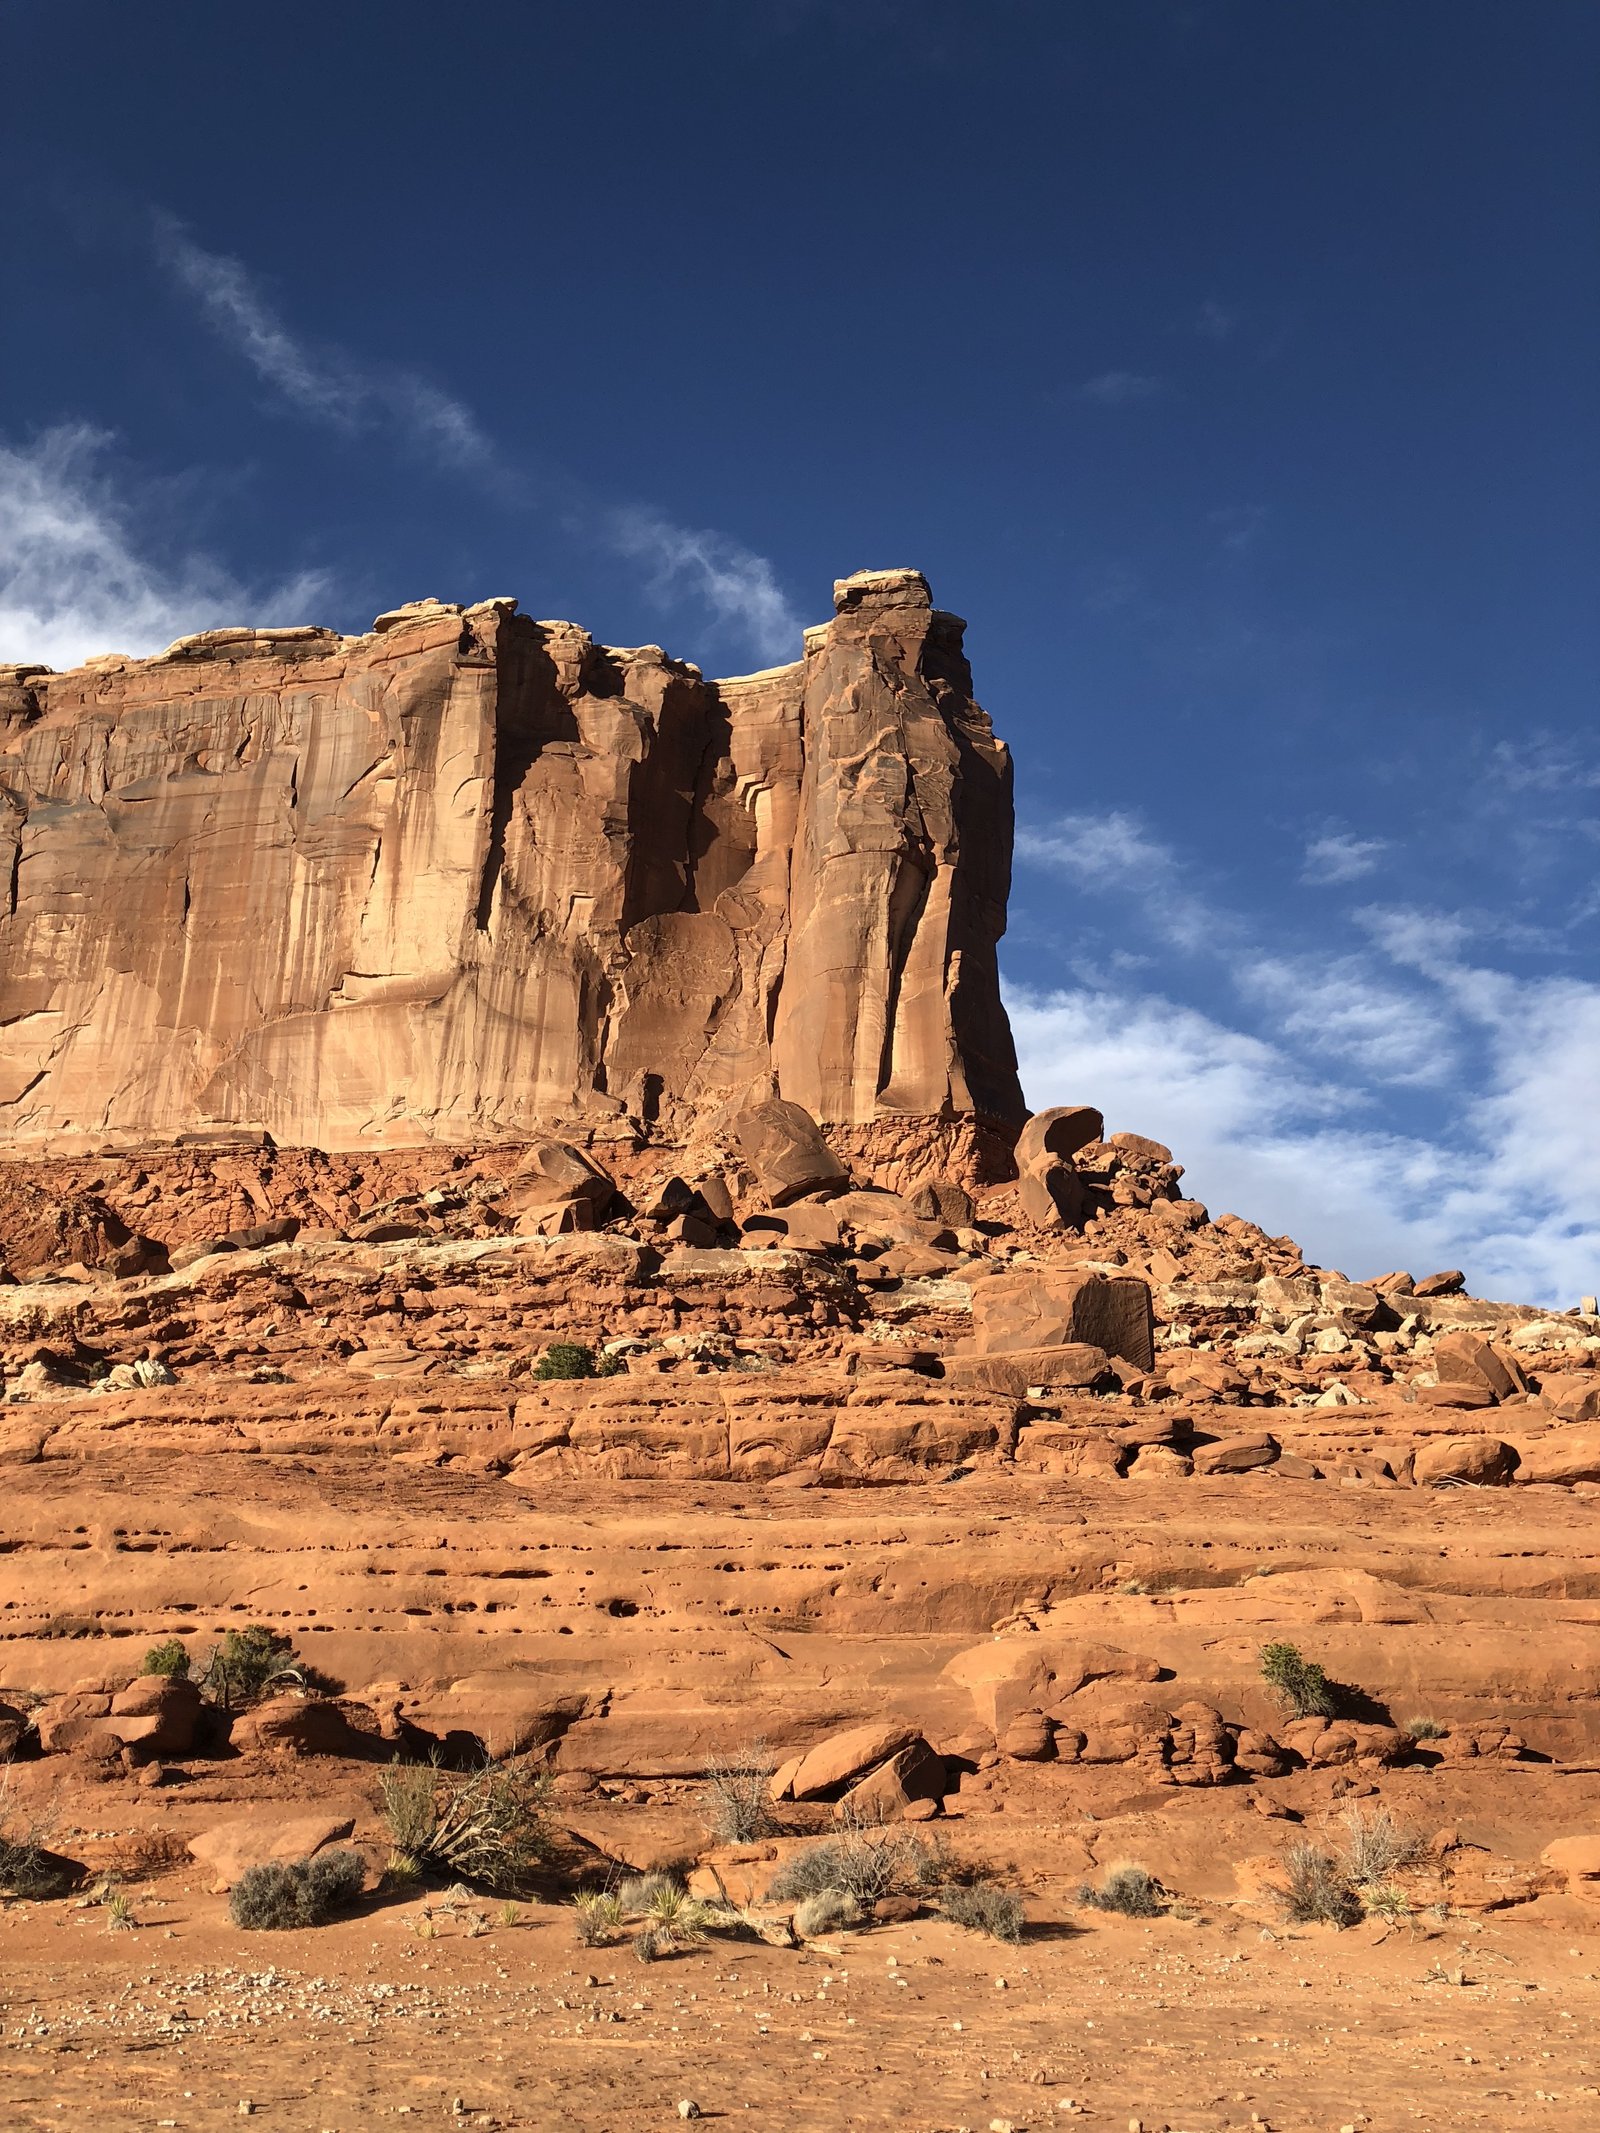
This was by far the most scenic trail we ran this weekend and it gave us views of pretty much everything. We started climbing up over an old uranium mine, creeping around the edges of the butte, crawling down to see an arch, going over vast expanses of slick rock, and then dropping into a sandy wash with beautifully banked turns and corners. The views changed every 20 minutes and it was truly unlike anything I’ve ever seen.
First thing’s first - this trail is not clearly marked (compared to how well Hells & Fins were both maintained and marked) so I highly recommend having a trail map or guide to take with you. The trail is marked with the occasional faded white paint mark and small signs that say “SMR” on them. About 1/3 of the way through the trail, there is a pretty clearly marked off-shoot to take you to the Uranium bridge - another amazing natural arch that you can walk across or climb under. However, once you take this offshoot, there are almost no markers until you get to the bridge, so just take it slow and look for the faded white paint marks. About 1/2 through the trail (after you pass the Tipsy Point) the signs turn from “SMR” to “M&M” which was SO confusing for us at first. We finally figured out that “M&M” meant Monitor and Merrimac - the buttes that we passed between. I’m not sure why the signs changed, but following them did take us down into the wash portion of the trail and out to the main road.


After running Hell’s & Fins, I would say that the 7 Mile Rim sits in the middle of them, in terms of difficulty and technical skills needed for obstacles. There was only one obstacle that was rough for ALL our rigs to get over and was very technically challenging. We all had to try different lines multiple times before we each got over and it was the second time the whole trip that I was truly afraid. There was another obstacle that wasn’t technically hard but pretty scary because of the angle you had to take it at (it’s called Tipsy Point and it truly felt very tipsy.) All of the other obstacles felt challenging but doable - you just have to be aware of your lines the whole time. I actually drove the first third of this trail and felt fairly confident in driving it (with Dustin spottin me, of course.)
Overall, Seven Mile Rim was absolutely beautiful and I highly recommend running it, especially if it’s your first time in Moab doing 4X4 wheeling. It’s got a little bit of everything, it is challenging without being too hard, and the views are amazing.
Having a Jeep has literally been life-changing in ways I never could have realized. Our rig did all the hard work and took me to see views I would have never been physically able to see on my own two legs. I can’t wait to go back and explore more of what Moab has to offer!